How to Take Photos for an AI Rhinoplasty Preview
Learn how to take clear front, profile, and three-quarter photos for a more useful AI rhinoplasty preview while avoiding common camera distortions.
On this page
- What you need
- Step 1: Set up neutral lighting
- Step 2: Choose a simple background
- Step 3: Create enough camera distance
- Step 4: Keep the camera at face level
- Step 5: Use a neutral, repeatable pose
- Step 6: Capture the essential angles
- Step 7: Check the files before uploading
- Common photo mistakes
- Privacy and responsible use
- Taking previews into a consultation
- Final photo checklist
- Key Takeaways
- Sources
The quality of an AI rhinoplasty preview begins with the photograph. Uneven light, a very close camera, a tilted head, or a beauty filter can change how the nose appears before the software makes any edit. A clean, consistent set of photos will not make an AI simulation medically accurate, but it can make the visualization easier to interpret and compare.
Important disclaimer: An AI rhinoplasty preview is illustrative, not predictive. It cannot determine candidacy, diagnose a condition, plan an operation, or forecast your result. It does not account fully for anatomy, skin and cartilage characteristics, breathing, healing, complications, or changes over time. This guide is general photography and educational information, not medical advice. A qualified clinician must evaluate any medical or surgical questions.
What you need
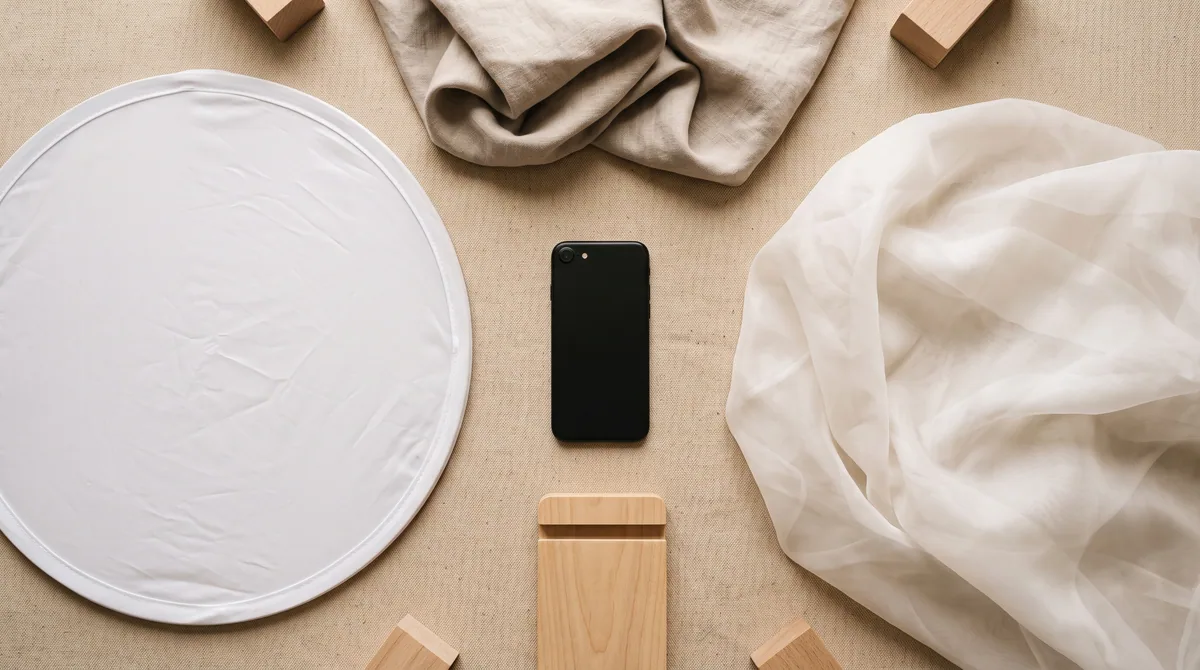
You can create a useful photo set with an ordinary recent smartphone. Gather:
- A phone or camera with a clean lens.
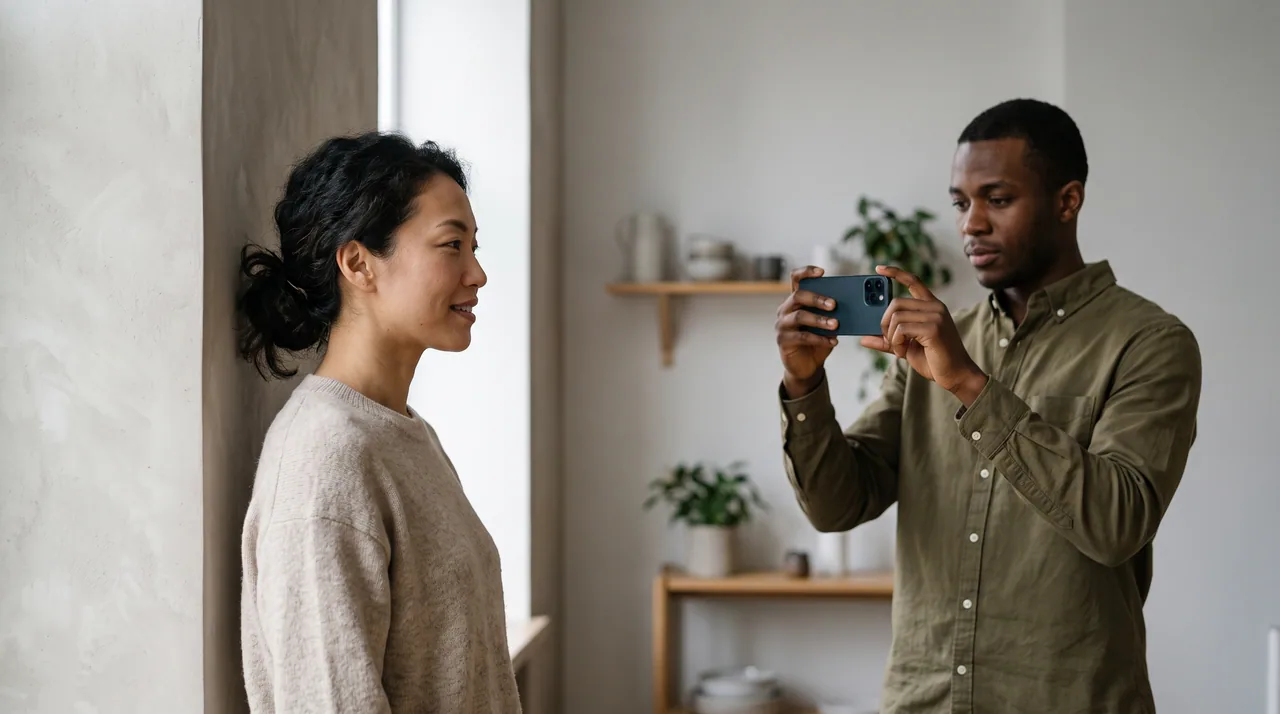
- A stable support, tripod, or another person to hold the camera.
- A plain, uncluttered background.
- Soft, even light, ideally from a large window.
- Enough room to position the camera farther away rather than directly in front of your face.
- A neutral expression and hair secured away from the nose, cheeks, and ears.
Avoid portrait-mode blur, face reshaping, skin smoothing, makeup filters, and automatic “beauty” settings. These can change contours or erase details that help you understand the edit. If your camera app applies strong processing by default, use its standard photo mode and keep the unedited original.
Step 1: Set up neutral lighting
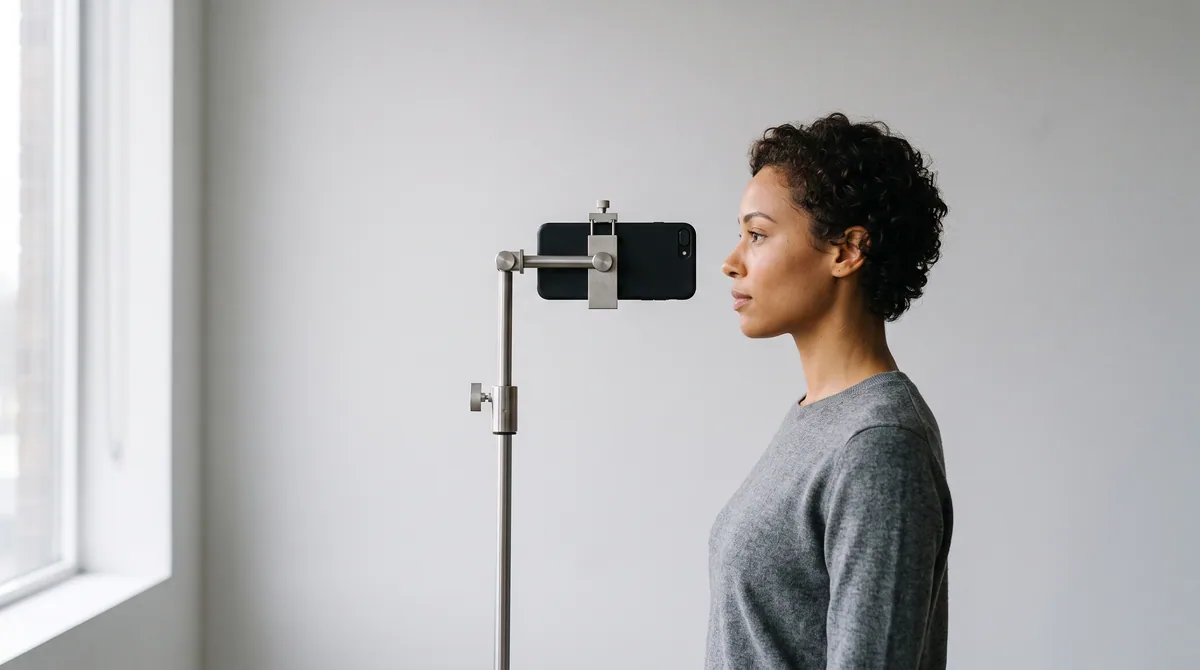
Stand facing a large window or another broad, diffuse light source. Bright but indirect daylight is usually easier to control than a ceiling fixture. The aim is even illumination across both sides of the face, not dramatic shadows.
Do not stand with the window directly behind you; backlighting can make the face dark and force the camera to overprocess the image. Avoid a single lamp to one side, which can exaggerate or hide contours. Mixed lighting—such as blue daylight plus a warm ceiling bulb—can also make comparisons confusing. Turn off harsh overhead lights if the window provides enough illumination.
A preview is easier to judge when the original and any follow-up photos use similar lighting. Consistency matters more than creating a glamorous portrait.
Step 2: Choose a simple background
Use a plain wall that contrasts gently with your hair and skin without being extremely bright. Remove visual clutter, mirrors, and strong patterns. Stand a short distance in front of the wall to reduce hard shadows behind your head.
The background does not affect your anatomy, but it can affect edge detection and distract from subtle differences. Keep the full head visible, including the chin and some space above the hair. Do not crop tightly around the nose. Facial context is important because rhinoplasty preferences are often about proportion rather than one isolated feature.
Step 3: Create enough camera distance
Close-range phone selfies can distort facial proportions. Features nearest the lens, including the nose, may look larger relative to the ears and the rest of the face. Research on photographic perspective has specifically demonstrated this “selfie effect.”
Instead of holding the phone at arm's length, place it on a stable support or ask someone else to take the photos from farther away. Use modest optical zoom if your phone offers it without switching to poor-quality digital enlargement. As a practical starting point, frame the head and upper shoulders while keeping enough distance to avoid a wide-angle close-up. Do not use an ultra-wide lens.
Use the same camera, lens setting, and distance for every angle when possible. That creates a more coherent set for an AI preview on TryPlasticSurgery or for your own side-by-side comparisons.
Step 4: Keep the camera at face level
Position the camera around the level of the middle of your face. A camera held too high can make the nose appear shorter or show more of its upper surface; a low camera can emphasize the nostrils and alter the apparent tip position. Make sure the phone is upright and not angled toward or away from you.
Enable the camera grid if available. Use horizontal and vertical lines in the room to check that the phone is level. The photographer should move the camera rather than asking you to bend your neck to fit the frame.
Step 5: Use a neutral, repeatable pose
Relax your forehead, eyes, lips, and jaw. Keep your lips gently together without pressing them, unless your natural resting posture is different. Do not smile for the primary set: smiling moves the cheeks and upper lip and can change the appearance of the nasal base and tip. You can take an additional smiling photo for context, but label it separately.
Look straight ahead rather than following the camera with your eyes or chin. Keep your neck naturally extended—neither tucked nor stretched. Remove glasses and anything that covers the nasal bridge. Pull long hair back so the profile and jawline remain visible.
Step 6: Capture the essential angles
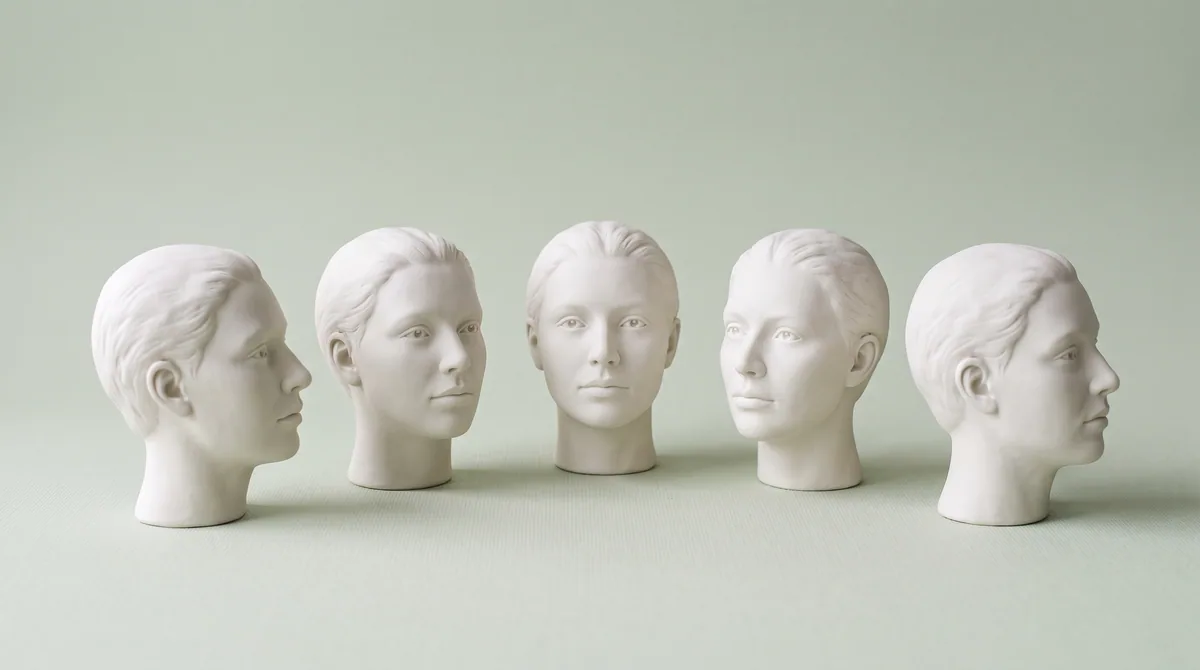
Take several images at each position, then select the sharpest photo with the most neutral pose. A useful basic set includes:
Front view
Face the camera directly. Both ears should appear as balanced as your natural anatomy allows, and your eyes should be level. Do not rotate toward your preferred side. The front view helps show the nose in relation to the eyes, cheeks, lips, and chin.
Left and right profiles
Turn exactly 90 degrees for each side while keeping your gaze level. The profile should show the forehead, nasal bridge, lips, and chin. Do not rotate only your eyes back toward the lens. Photograph both sides rather than assuming they are identical.
Left and right three-quarter views
Turn approximately halfway between front and profile. These views help connect the frontal and side contours and may reveal whether an edit remains coherent as the face rotates. Approximate angles are acceptable for an exploratory tool; repeatability and a natural posture are more important than chasing a perfect measurement.
Only upload angles the tool requests, and remember that consumer images are not a substitute for standardized clinical photography. You can view examples and inspiration on the rhinoplasty explore page.
Explore visually: Once you have clear, consistently framed photos, you can create an illustrative nose preview in the app and compare ideas without treating them as medical recommendations.
Step 7: Check the files before uploading
Review the full-resolution originals. Confirm that:
- The nose and facial outline are sharp, not motion-blurred.
- No filter, portrait blur, sticker, or retouching is active.
- Lighting and color are similar across views.
- The entire face is visible and unobstructed.
- The image has not been mirrored unexpectedly.
- The file does not contain other people or sensitive items in the background.
Keep the original photographs separate from generated images, and label AI results clearly. When comparing variations, change one preference at a time. If one version modifies the nose, chin, lips, skin texture, and lighting simultaneously, it is hard to identify what you actually prefer.
Common photo mistakes
Avoid a close selfie, tilted chin, beauty filter, strong side light, or a single profile. These can enlarge the central face, change apparent tip position, reshape features, obscure contours, or hide how an edit relates to other angles. Makeup, posing, and exaggerated expressions also weaken comparisons. Consistency is more useful than presentation.
Privacy and responsible use
A facial photograph is sensitive personal data. Review the service's privacy, retention, deletion, and model-training terms. Keep other people, documents, and location clues out of frame, and upload only images you have the right to use. Save several possibilities rather than treating the most flattering output as a target. For a realistic framework, read what an AI rhinoplasty preview can tell you.
Taking previews into a consultation
Bring untouched originals and clearly labeled simulations. Identify unintended changes and the one or two ideas you want to discuss. A clinician may explain that a contour is not feasible, advisable, or compatible with functional goals. Prepare broader questions with this list of questions to ask at a rhinoplasty consultation. The overview of open vs closed rhinoplasty explains common terminology, but technique must not be selected from a photograph.
Final photo checklist
Use soft frontal light, a plain background, a clean lens, and standard camera mode. Keep the camera level and farther away than selfie distance. Maintain a relaxed expression and natural head position. Capture front, both profiles, and both three-quarter views with consistent framing. Preserve the unedited originals and inspect every file for blur or processing.
Good source photos make an AI visualization cleaner and easier to discuss. They do not make it a forecast. Use your preview to explore and communicate—not to self-diagnose, determine candidacy, or expect an exact outcome.
Key Takeaways
- Use soft, even light and a plain background.
- Keep the camera at face level and maintain a neutral expression.
- Capture front, profile, and three-quarter views consistently.
- AI previews are illustrative and should not replace a professional consultation.
Want to explore a visual idea privately? Learn about Try Plastic Surgery or download the iOS app. Results are illustrative and are not medical advice or predicted surgical outcomes.
Sources
- American Society of Plastic Surgeons: Photographic Standards in Plastic Surgery
- JAMA Facial Plastic Surgery: Nasal Distortion in Short-Distance Photographs
- American Society of Plastic Surgeons: Rhinoplasty
- NHS: Nose reshaping (rhinoplasty)
- U.S. Federal Trade Commission: Protecting Your Privacy Online