Plastic Surgery Consultation Photos: A Practical Guide
Plastic surgery consultation photos explained: learn the best angles, lighting, camera distance, privacy steps, and questions to bring to your surgeon.
On this page
Plastic surgery consultation photos should show your face accurately from several consistent angles, with a neutral expression, eye-level camera, even light, and no beauty effects. They are a communication aid, not proof of candidacy or a promise of change. Bring originals and discuss what each image does—and does not—represent with a board-certified surgeon.
Good photographs make priorities easier to explain, while poor perspective can exaggerate features. The goal is not to create a flattering portrait; it is to give a qualified professional a repeatable, undistorted visual reference.
How should plastic surgery consultation photos look?
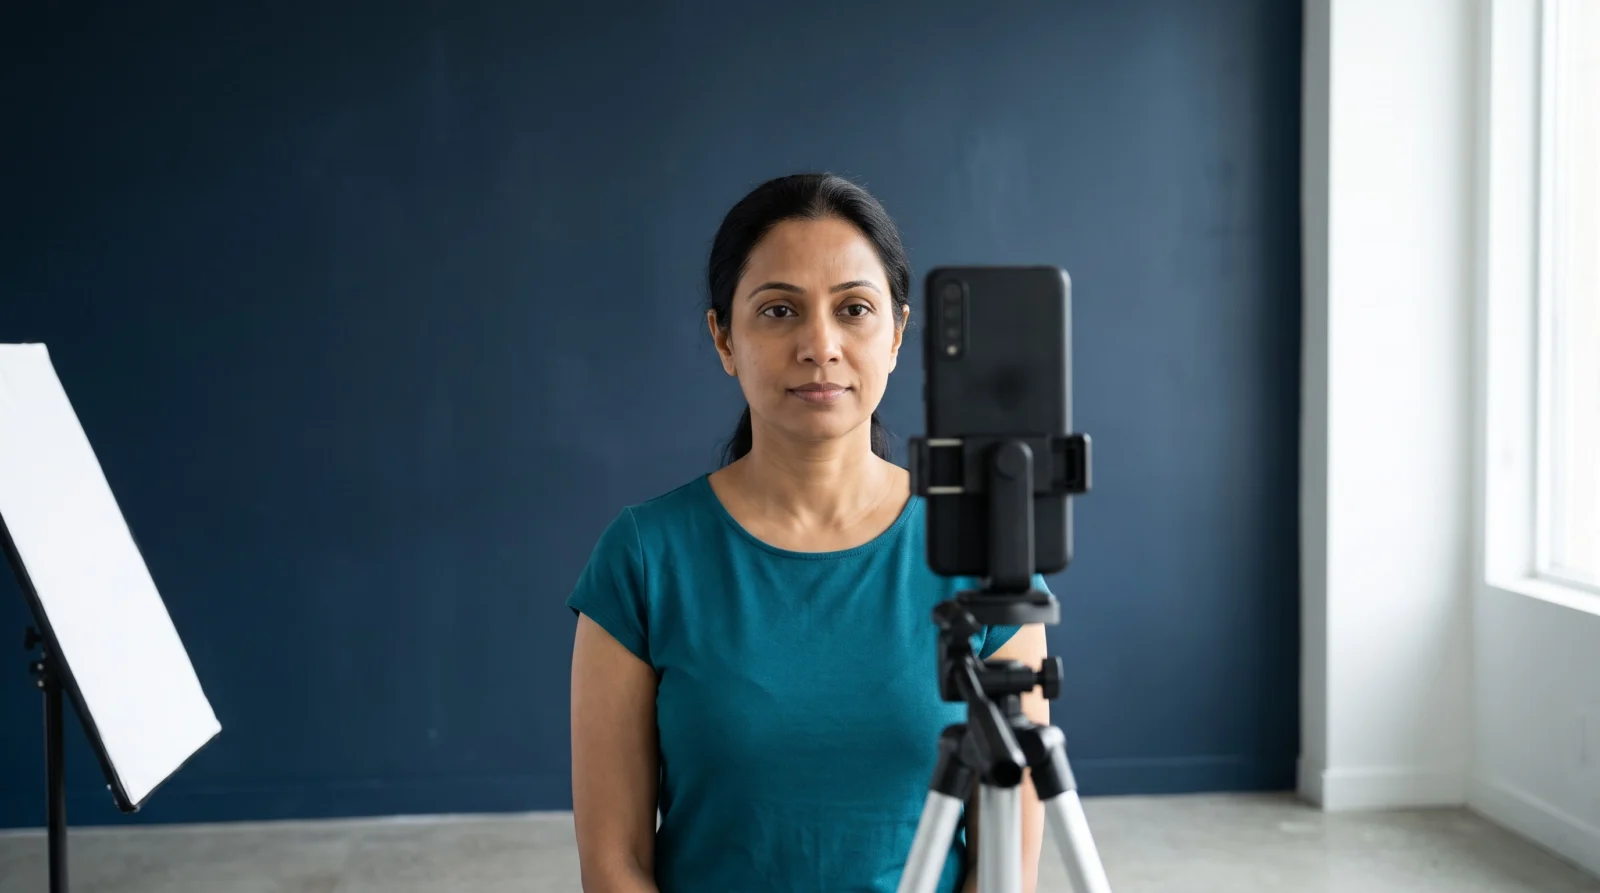
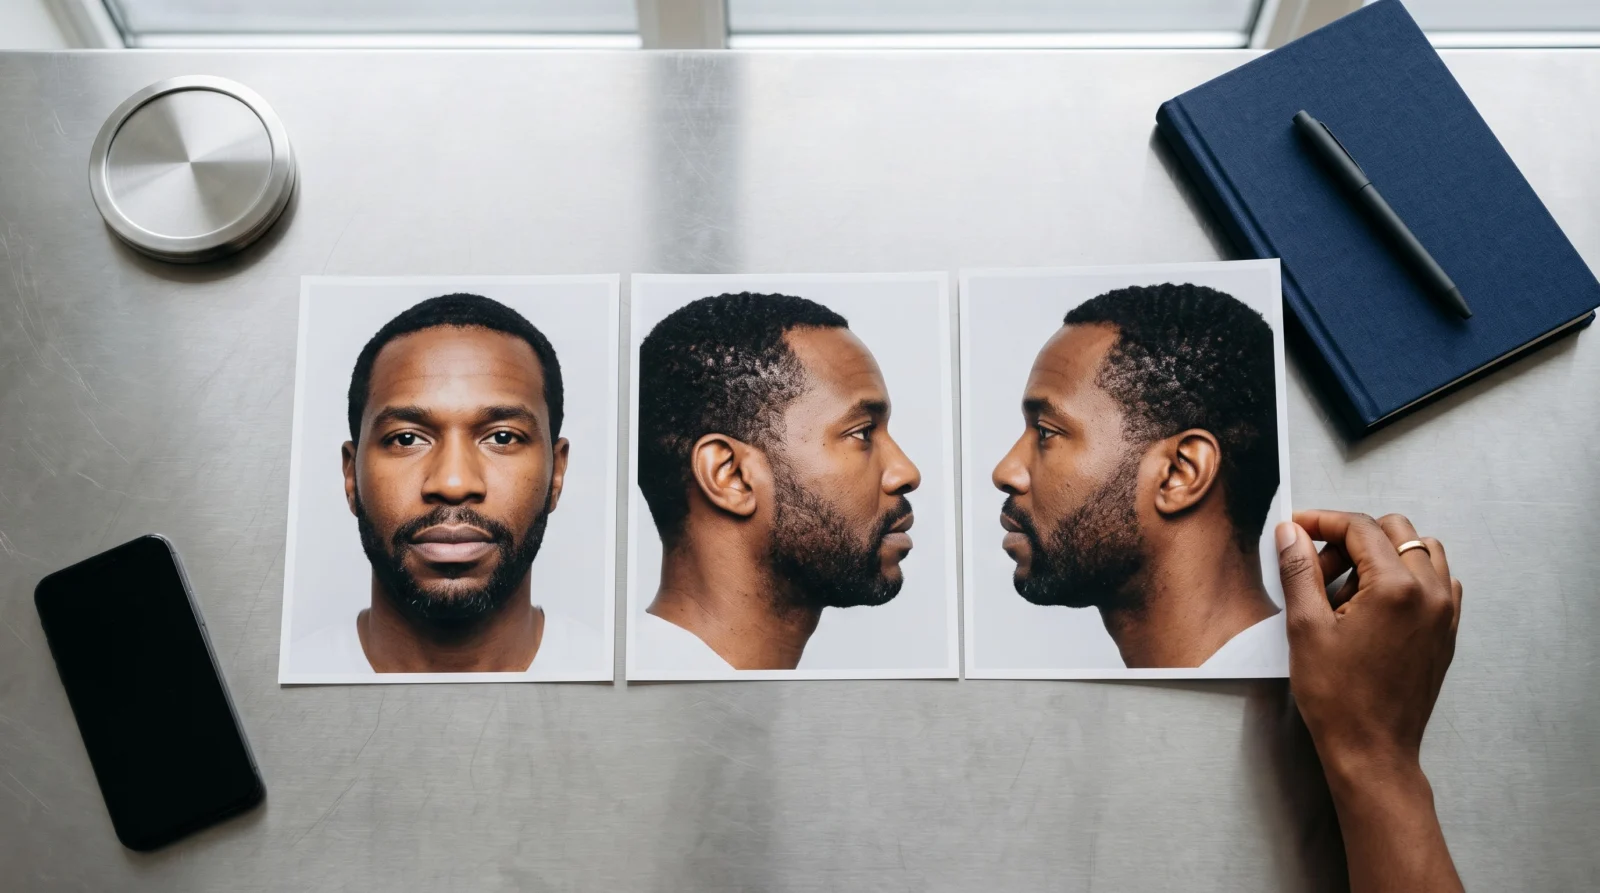
Plastic surgery consultation photos should be sharp, evenly lit, unedited, and taken at eye level from a repeatable distance. Capture front, both three-quarter, and both profile views while keeping posture, expression, background, camera height, and light unchanged.
Use a plain wall that contrasts with your hair and skin without casting a color tint. Face a broad window or use two soft lights placed symmetrically; avoid a single ceiling light that deepens under-eye and jaw shadows.
Keep your lips relaxed, teeth apart unless a smile view is relevant, and hair away from the facial outline. Remove glasses only if you can do so comfortably, but tell the practice if you normally wear them and ask whether it wants an additional view with them on.
Do not smooth skin, reshape features, use portrait mode, or crop so tightly that the ears, hairline, chin, or neck disappear. A clinic may still take its own standardized clinical images because home photographs cannot replace an examination.
Why can a selfie give the wrong impression?
A selfie can give the wrong impression because a phone held close uses perspective that enlarges the areas nearest the lens. Camera distance matters more than choosing a fashionable phone or a high megapixel count.
According to a peer-reviewed JAMA Facial Plastic Surgery modeling study (2018), a photograph taken at 12 inches increased perceived nasal size by about 30% in men and 29% in women compared with a portrait taken at 5 feet. The study used a mathematical model rather than surgical patients, but it demonstrates why an arm's-length selfie is not a neutral reference (read the study).
According to an Aesthetic Surgery Journal survey (2021), 295 adults participated, and time spent viewing one's own face on video calls was moderately associated with greater acceptance of aesthetic surgery (r = 0.48). Because this was cross-sectional, it cannot show that video calls caused those attitudes; it does support discussing whether a concern appears mainly on a front camera or in everyday settings (review the study).
If a feature bothers you only in a close selfie, test it with a rear camera on a tripod several feet away before treating the image as representative. Also compare a mirror view and ordinary photographs taken by another person.
How do you take consultation photos step by step?
Follow one repeatable process rather than taking dozens of varied pictures. If the practice provides its own instructions, those should take priority.
- Ask what the clinic needs. Confirm the requested angles, clothing, hair position, expression, file format, and secure upload method.
- Prepare a neutral setting. Stand or sit against a plain background with soft light from the front and no bright window behind you.
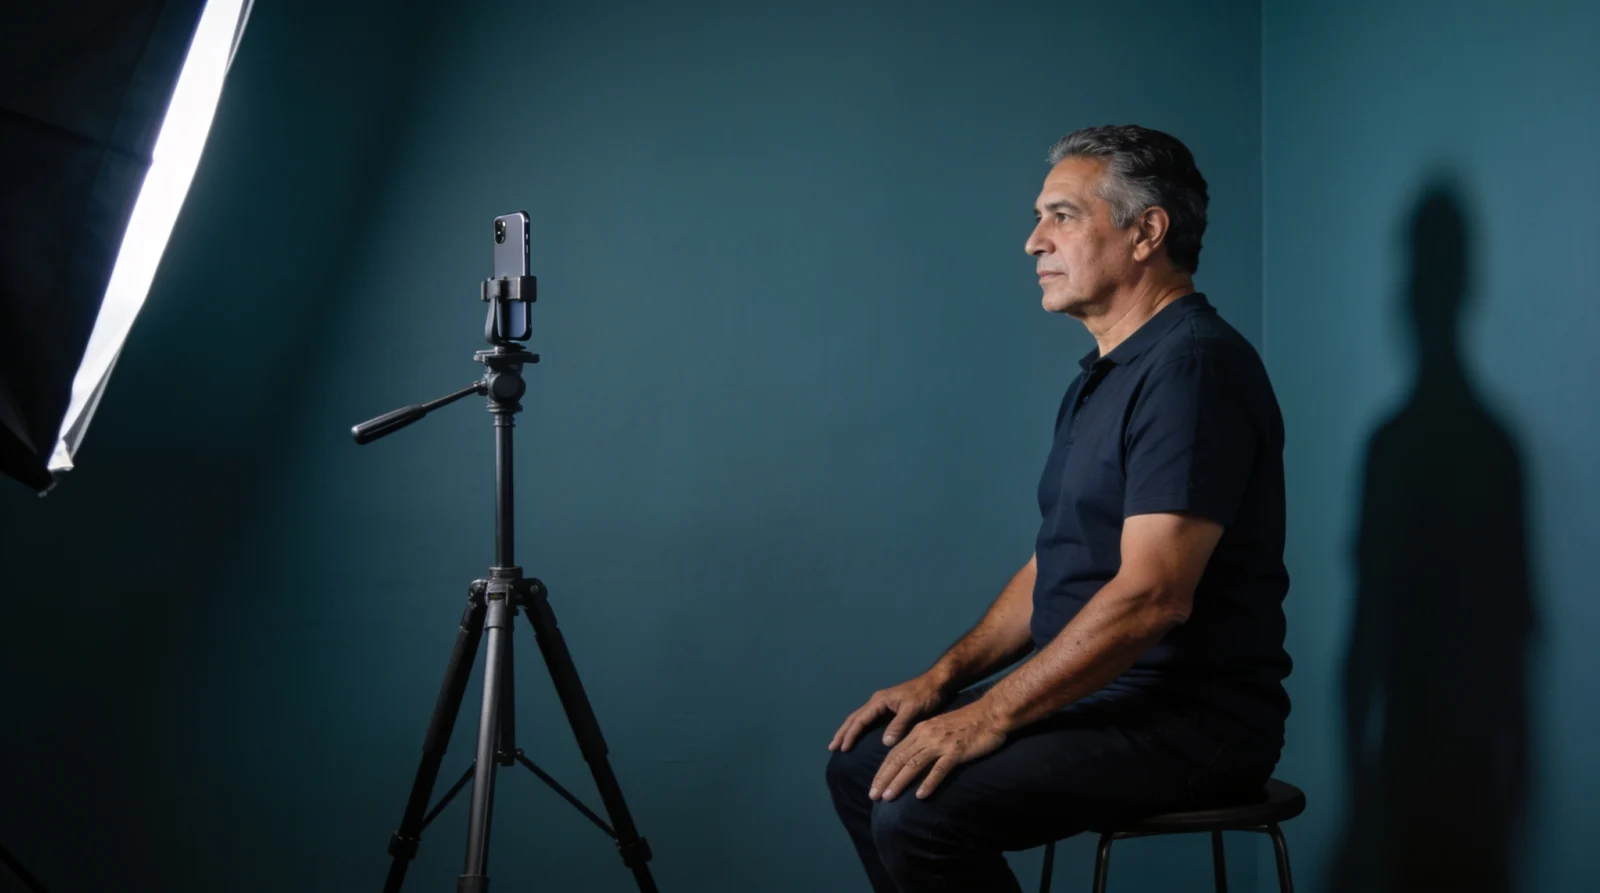
- Set the camera at eye level. Use the rear camera, a tripod or stable shelf, a timer, and enough distance to avoid wide-angle distortion; avoid digital zoom.
- Keep framing consistent. Include the full head, hairline, ears, chin, and upper neck, with shoulders level and the lens centered on the face.
- Capture five core angles. Take front, left and right three-quarter, and left and right profile views without tilting or turning the camera.
- Add concern-specific views only when requested. A natural smile may help with smile planning, while raised brows can obscure the resting eyelid position.
- Review without editing. Check focus and exposure, retain the original files, and delete accidental duplicates rather than selecting only the most flattering frame.
- Transfer securely. Use the practice portal or method it specifies; do not send identifiable health images through an unapproved channel.
A 2022 review of photography in aesthetic surgery recommended consistent patient orientation, a standardized matte background, stable camera support, and controlled lighting. It also noted that smartphone images can distort self-perception and that cloud storage introduces privacy considerations; this was a narrative review, not a trial comparing outcomes (see the review).
What should you bring with the photos?
Bring the original files, the date each was taken, and a short note explaining what you notice in ordinary life rather than only on camera. A one-page list of goals and limits is more useful than a large folder of idealized images.
Choose two or three reference images, if any, that demonstrate a specific quality such as a softer hairline, balanced lower-face proportions, or a natural smile. Explain the feature you mean instead of asking to copy another person's face, because anatomy, skin, teeth, hair, healing, and proportions differ.
Use the broader consultation preparation hub to organize questions, then read how to prepare for a plastic surgery consultation for medical-history and logistics prompts. If several areas influence one concern, the facial balancing consultation guide explains why whole-face context matters.
The explore page can help you learn the vocabulary for face-focused options before the visit. Learning terms should help you ask clearer questions, not lead you to diagnose yourself or decide that you need treatment.
The app provides an AI visualization on your own photo to help you prepare questions for a consultation with a qualified professional — not medical advice and not a prediction of results. For limits, consent, and interpretation, read how accurate AI plastic surgery simulators are.
How should you use photos during the consultation?
Use photos to point to a concern, describe priorities, and test whether you and the surgeon mean the same thing. Do not use them as a shopping list of guaranteed changes.
Ask the surgeon to separate what is visible in person from what may be caused by camera distance, lighting, expression, or posture. A board-certified surgeon should examine anatomy, discuss alternatives and risks, and explain which goals are realistic before recommending a plan.
Request plain-language answers to these questions:
- Which feature in this photograph is consistent with your in-person examination?
- Which part may be perspective, lighting, expression, or normal asymmetry?
- What trade-offs, scars, recovery limits, or uncertainties apply?
- What result cannot be promised, even with careful planning?
- How will the clinic photograph progress consistently and protect the files?
Leave with notes rather than relying on memory. If the plan feels rushed, overly certain, or unlike the goal you described, seek another qualified opinion.
FAQ
How many plastic surgery consultation photos should I take?
Five consistent angles—front, two three-quarter views, and two profiles—are a practical starting point. Follow the clinic's instructions if it requests different or additional views.
Should I smile in consultation photos?
Use a neutral resting expression for the core set. Add a natural smile only when it is relevant or the practice requests one, while keeping lighting and camera position unchanged.
Can I use selfies for a virtual consultation?
A close handheld selfie can distort proportions, so use a timer, rear camera, eye-level support, and greater distance instead. The clinician may still need standardized office photographs and an in-person examination.
Should consultation photos be edited?
No. Keep original, unretouched files without beauty effects, reshaping, portrait blur, or selective skin smoothing so the professional can evaluate the image's limits honestly.
Are AI previews the same as expected results?
No. AI previews are visualizations, not medical advice. They can support questions, but they cannot assess anatomy, candidacy, healing, risk, or predict a result.
Sources & further reading
- Facelift — American Society of Plastic Surgeons
- Chin surgery — American Society of Plastic Surgeons
- Cheek augmentation — American Society of Plastic Surgeons
- Buccal fat removal — American Society of Plastic Surgeons
- Facelift — NHS
- Laser skin resurfacing — American Society of Plastic Surgeons
- Chemical peel — American Society of Plastic Surgeons
- Microneedling devices — U.S. Food and Drug Administration
- Botulinum toxin — American Society of Plastic Surgeons
- Patient safety — American Society of Plastic Surgeons
- Find a board-certified plastic surgeon — American Board of Plastic Surgery
- Cosmetic procedures — NHS
Written by the Plastic Surgery AI editorial team. Educational information only, not medical advice; always talk to a board-certified surgeon. Our editorial policy.

